

TABLE OF CONTENTS
Photo Mechanic has eight different color classes in addition to "None" You can use these to sort, select, and filter your photos. Color classes are flexible and can be used by themselves or in combination with tagging and star ratings. Color classes, when given, are indicated on photos in the contact sheets and preview windows by a swatch of color.
To specify your color class preferences, go to the Photo Mechanic menu, choose Preferences > General.
You can edit the text label fields associated with each class, and you can change the color of a class by selecting the color swatch.

The snapshot (lightning bolt) button contains default preferences for use with multiple software packages, including Adobe Lightroom Classic ® See this related article on how to maximize XMP/IPTC compatibility.
Notice that each color class has a corresponding number. This number is the number for the keyboard shortcut you can use to quickly label images.
Applying a Color Class
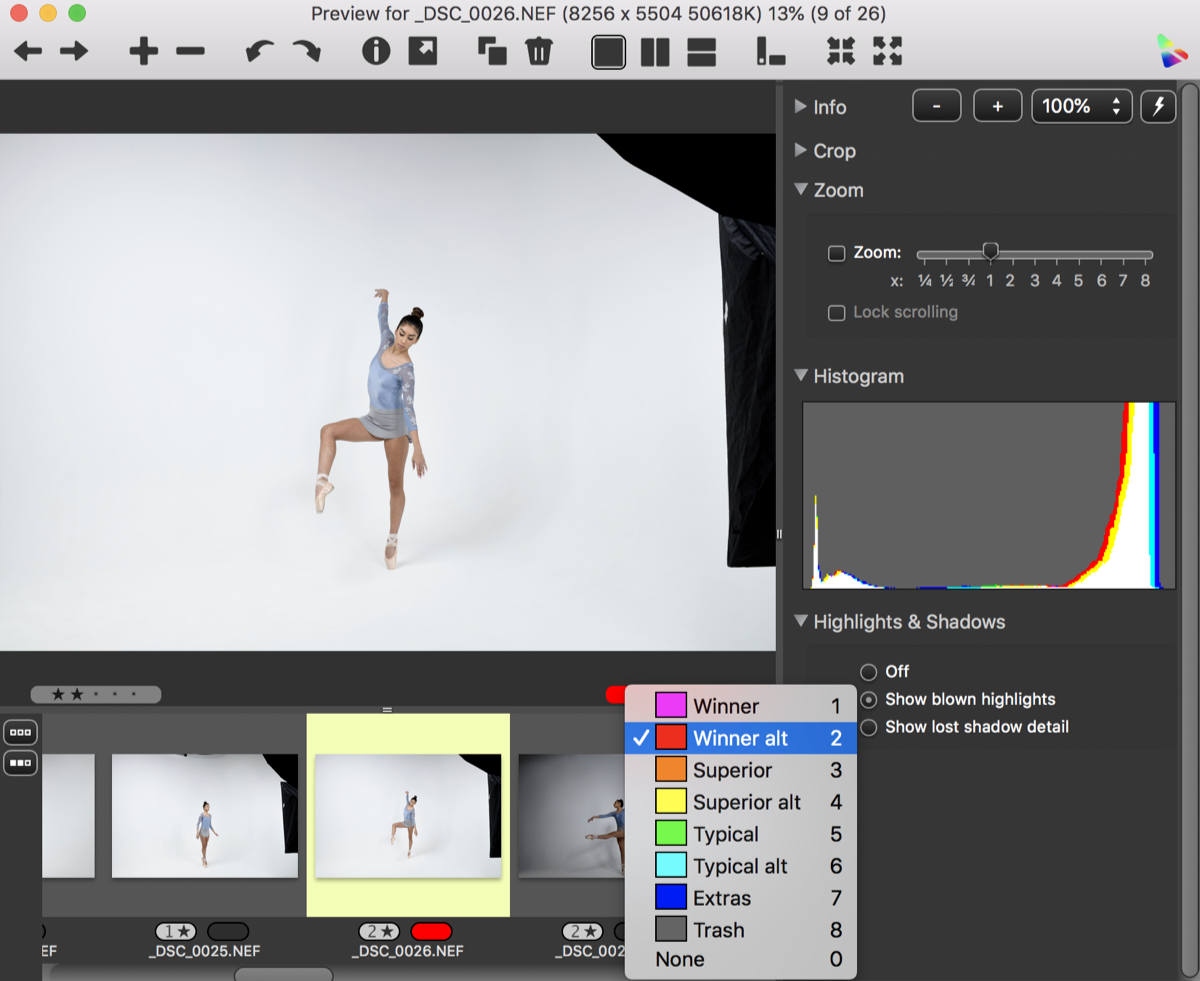
You can add color classes to photos in multiple ways.
- Select the color class label on a photo in either the preview window or a contact sheet. Select the color class.
- Select one or more photos and navigate to Image> Set Color Class of Photos.
- With one photo selected either in the preview window or a contact sheet, use the number key that corresponds to the color class. In the image above, for example, the 1 key would change the class to purple/winner. You can also use the shortcut during slide shows. The zero key removes any color class.
- With more than one photo selected, press your computer's modifier key while selecting the corresponding number.
Filtering, Sorting, & Selecting by Color Class
You can filter images in the contact sheet by using View>Color Classes. This will allow you to view one color class at a time. You have more options by using the color class widget, which is displayed on the top right of contact sheets.

The checkbox turns color class filtering on or off. Each color swatch in the widget represents a color class with the black one on the end representing "none." Select and deselect color swatches to filter your display. The colors that appear on the widget are the color classes that will appear in your contact sheet. This widget can also use modifier-key shortcuts.
Modifier-click on a Color to show only that Color and again to turn all colors on again. Modifier-click on an off color to turn that color on and the other colors off. You can even choose to show only those images that have no Color Class set.
Click and Drag your cursor over the widget to toggle the colors on and off.
To remove all filtering and show all images choose View All from the View menu or press F1. ⌘-Ctrl-F1 through ⌘-Ctrl-F9 will also filter the Color Classes.
To set a Color Class display as default, set the Widget to display the Classes you want, right-click on the Widget and select Set as Default. Later you can reset the Widget to the new default by right-clicking and choosing Restore to Default.
To reset the default state of the color class or star rating widget:
1. Open a contact sheet
2. Right click or control-click(macOS) in the color class widget at the top right of the contact sheet
3. Select "Turn All On"
4. Right click or control-click(macOS) on the widget again
5. Select "Set as default"
6. Restart Photo Mechanic
